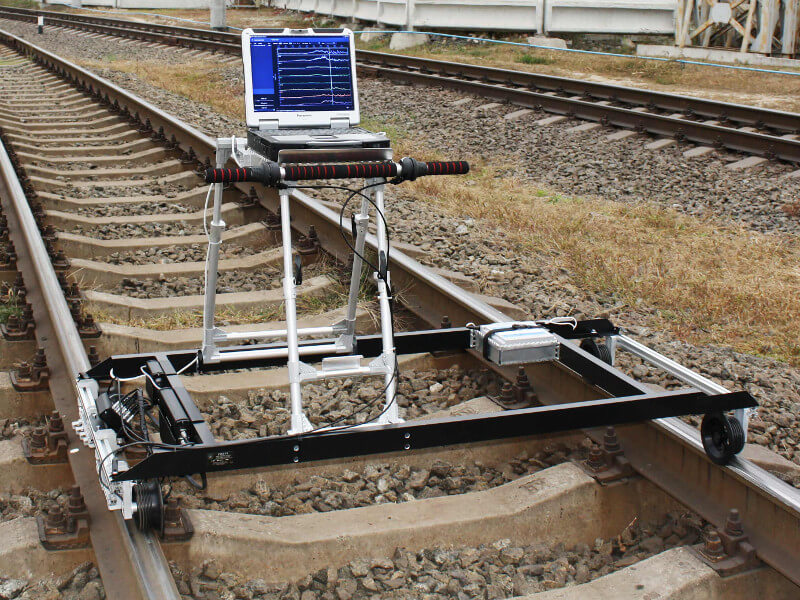
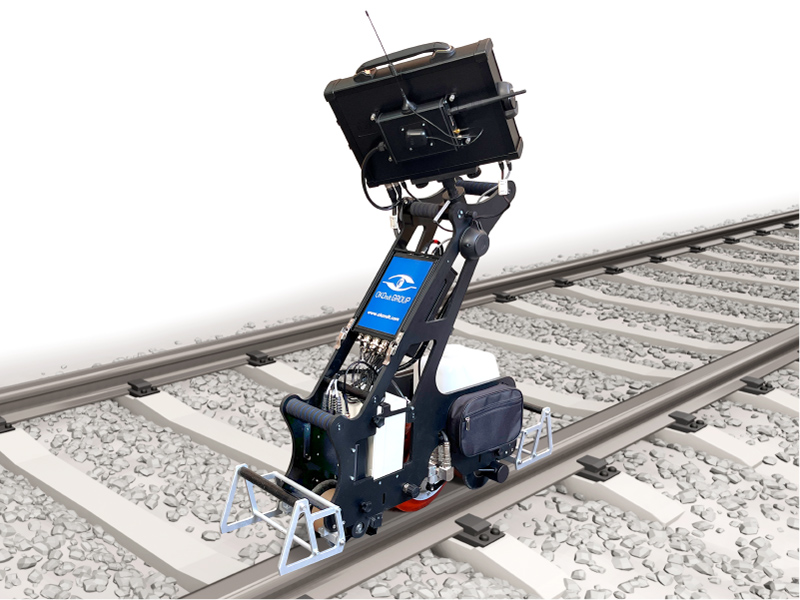
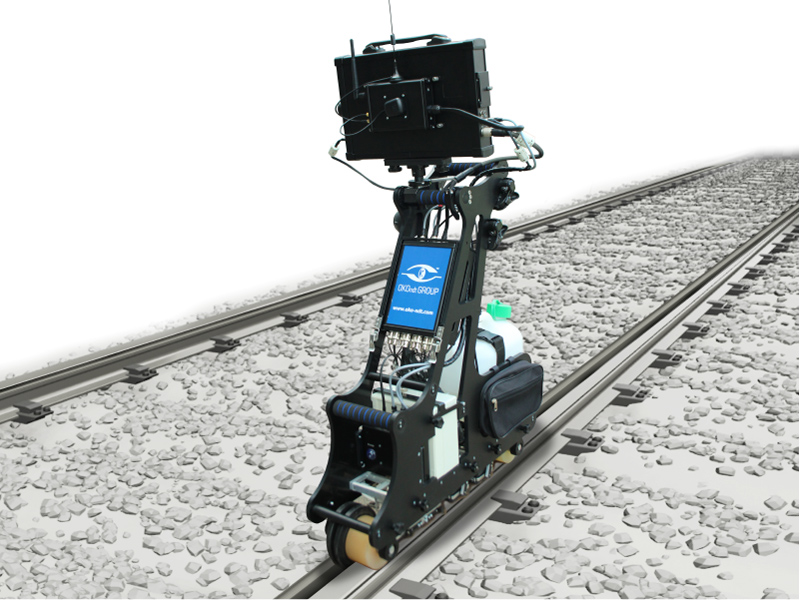
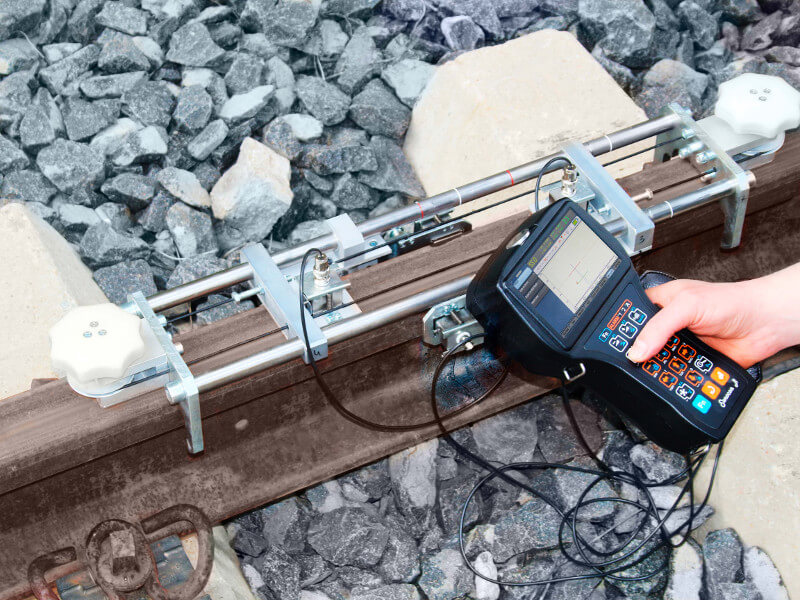
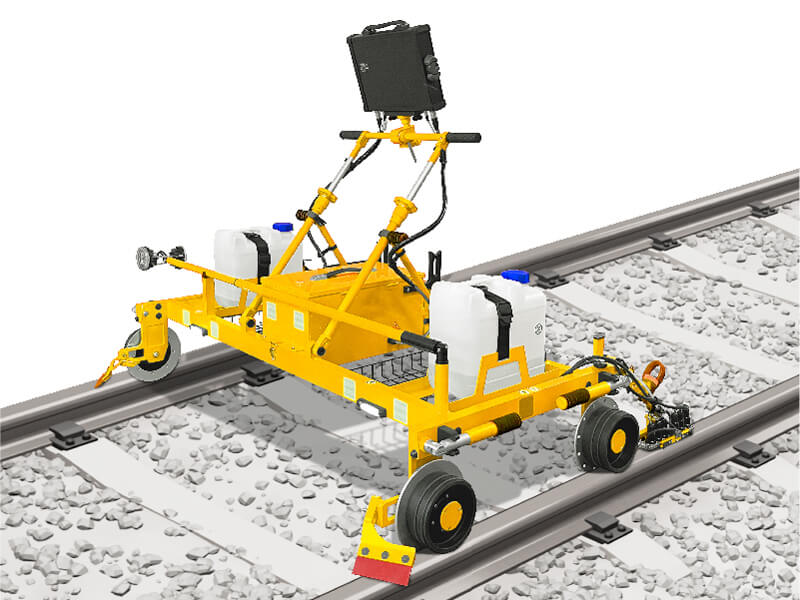
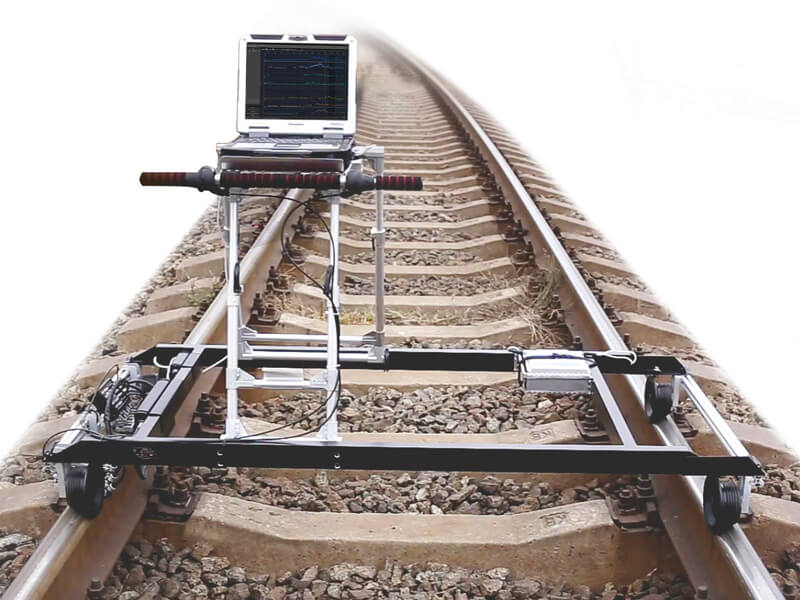
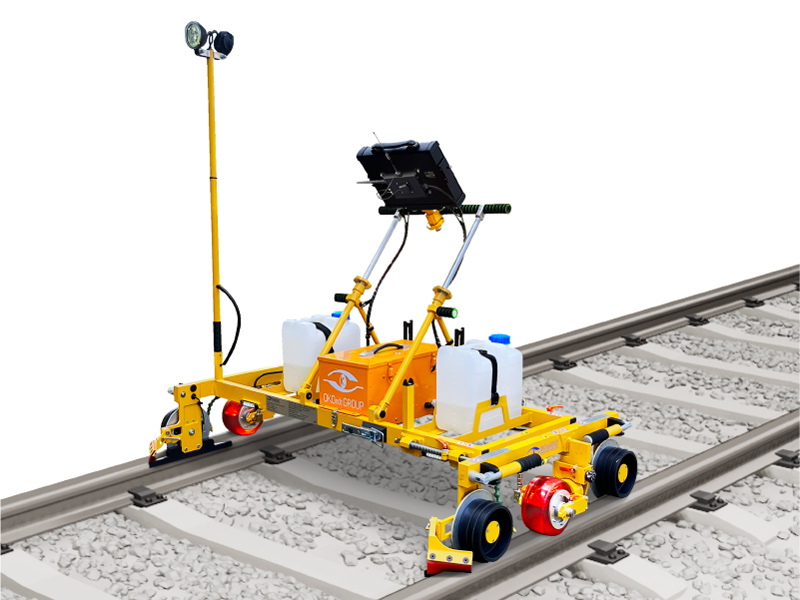
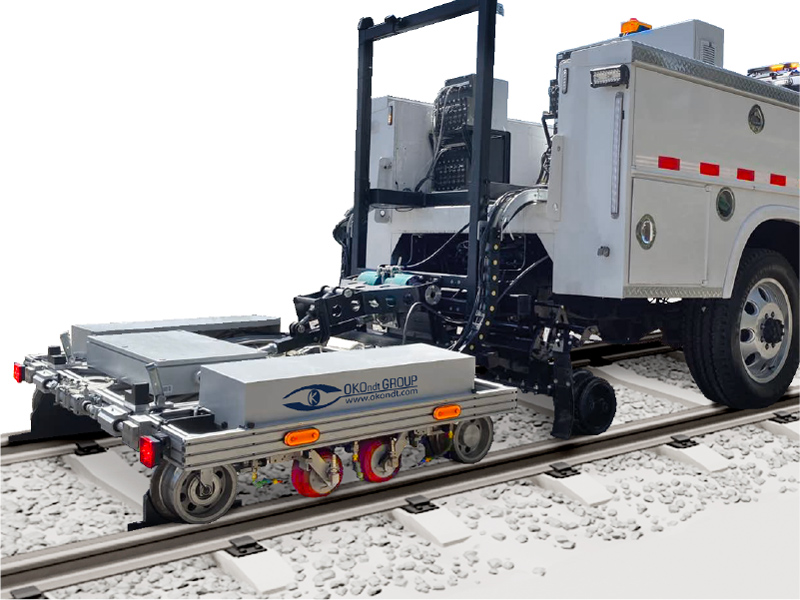
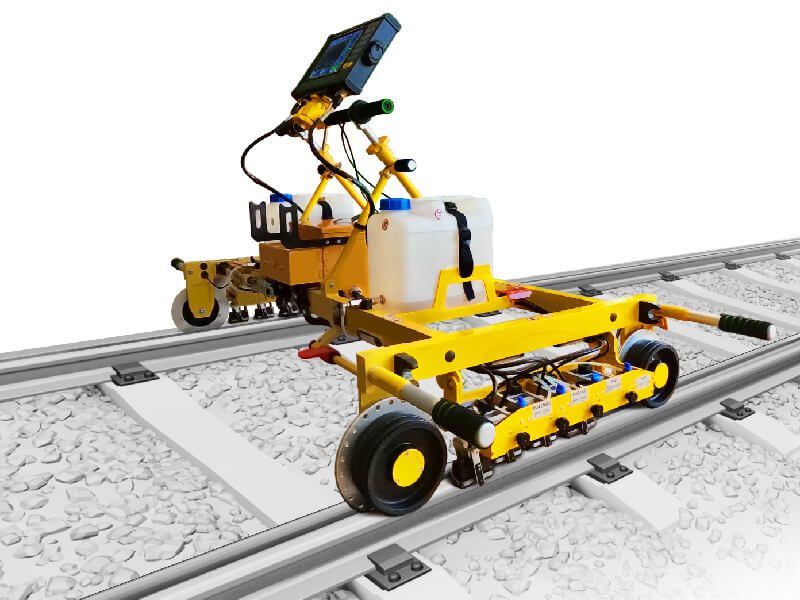
The ETS2-77 is intended for the mechanized inspection of rails and switches as well as confirmation of the results of a grinding application. The device is capable of testing a wide range of rail profiles.
Application
- possibility to control the rail track and the track switch;
- selective control of the separate rail track areas;
- post grinding machines control;
- all main rail profiles control Р50, Р60, 49E1, UIC 60 and others.

-
Lightweight and compact
Weight of the assembled flaw detector does not exceed 23 kg (50 lbs).
Overall dimensions of the assembled flaw detector are not more than:
- width - 900 mm
- length - 1730 mm
- height - 350 mm
The ETS2-77 flaw detector is a folding structure, which can be transported as it is a assembled in stowed position.
-
Main Components
- Aluminium base frame
- Eddycon D - multichannel eddy current flaw detector
- Scanning modules with eddy current probes (ECP)
- Laptop
- Software for test data input, storage and processing
- Reference block


-
ETS2-77 intended use
The ETS2-77 is intended for the mechanized inspection of rails and switches as well as confirmation of the results of a grinding application. The device is capable of testing a wide range of rail profiles.
The eddy current technology enables localizing the following surface defects:
- progressive transverse cracking (International Defect Code (UIC) 211);
- fissuring /scaling at the gauge corner (International Defect Code (UIC) 2223);
- shelling of the gauge corner (International Defect Code (UIC) 2222);
- wheel burn (International Defect Code (UIC) 225).
The eddy current rail inspection equipment ETS2-77 is capable of evaluating the vertical depth of the defect, thus allowing a more efficient management of rail defects. The inspector can easily decide on the defect removal method: grinding, milling or re-railing, which saves time and money.
-
ETS2-77 flaw detector advantages
- light aluminum frame;
- specialized abrasion-resistant ECPs allow to evaluate the oblique cracks with up to 3 mm vertical damage depth;
- 8 ECPs application allows to perform the control of the whole head rail surface in one run;
- individual spring-mounted fitting of each ECP;

- fast removal of the scanner during the transfer from one area to another;
- individual adjustment of ECP position;
- operating time – not less than 8 hours;
- specialized SW for setting up, testing and inspection results review


-
Program for setting up the EC channel

- Quick set up of all EC channel parameters – EC probe frequency, drive voltage, gain, filters, threshold level, sync type, etc
- Four independent threshold levels for automated defect triggering (ALARM) for each displayed area
- Saving the testing setups into the PC or tablet’s memory
-
Program for the testing
- Real-time display of 8 EC probes information
- Recording the testing results into the PC or tablet memory
- Display of different types of information in the signal visualization area
- Re-calculation of the obtained defectograms

-
Program for generating the names of railroads

Consists of the following components:
Railroads – Divisions – Sectors – Stages
-
Program for reviewing the testing results


- Reading the test results from the database
- Printing out the test reports
- Archiving the test results
- Reviewing the test results from the remote PC , etc
SPECIFICATION
| Model | ETS2-77 |
| Flaw detector type | mechanized |
| Overall dimensions in the stowed position | 1730 mm × 900 mm × 350 mm |
| Eddy current channel | Eddycon D |
| Scanning device |
|
| ECP quantity | 8 |
| Tested area by one ECP | 6 mm |
| ECP protection from the abrasion and damage | Ceramic protective cover |
| Test velocity | Up to 2 m/s |
| Alarm | Visual |
| Specialized software |
|
| Operating time | 8 hours |
| Record and data storage | + PC hard disk |
| Working PC | Industrial one, IP rating 65 |
Should you have any questions, feel free to contact us

