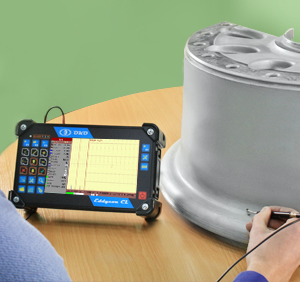
Eddy current non-destructive testing method is of paramount importance for technical diagnostics of aircraft parts.
Detection of surface flaws
Detection of hidden sub-surface flaws
Eddy current non-destructive testing method is of paramount importance for technical diagnostics of aircraft parts.
The eddy current method has a number of advantages as compared to other methods, in terms of the costs of NDT equipment and consumables. This method is distinguished by high productivity, high reliability of testing and does not impose specific requirements on the quality or roughness of surface to be tested. Testing can be performed even without removing the coating or scaling.
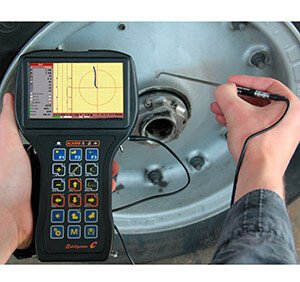
The eddy current method is used for testing wings (fatigue cracks on the inside of wing boxes), bodies, wheel discs, engine parts (mainly - engine blades), rotors, axes, fasteners and holes (flaws in rivets, with the latter remaining in place), landing gears made of high-strength steel.
Eddy current testing is possible both at the stage of production of aircraft, helicopters or other aircraft equipment, and during on-site maintenance.
-
On-site maintenance of aircraft includes:
High-frequency eddy current testing |
Low-frequency eddy current testing |
| detection of fatigue or corrosion surface flaws | detection of fatigue or corrosion sub-surface flaws |
| airframe parts (wings, bodies) | cracks under skin |
| landing gears (wheel discs) | cracks under repair patch |
| propellers | cracks under sealant |
| control units | cracks inside riveted joints |
| riveted and bolted joints | flaws under rivet head |
| engine blades |
-
Detection of surface flaws


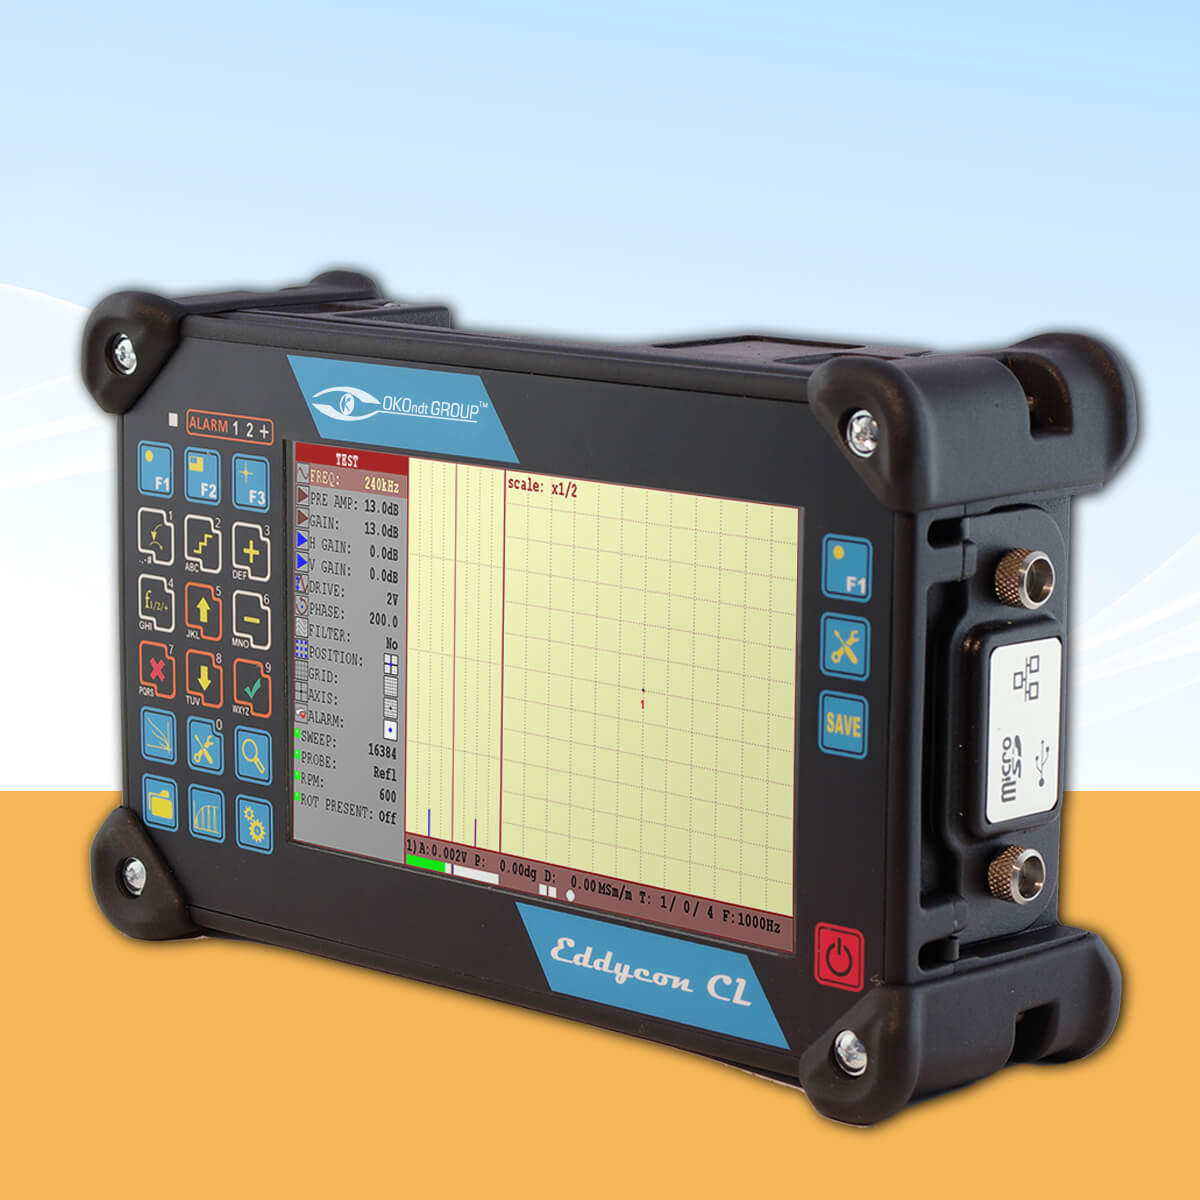
This task has been successfully solved thanks to high-frequency NDT technologies which are based on the use of relatively high operating frequencies (over 1 MHz). In aluminum alloy parts, cracks can be detected at a depth over 0.2 mm, with a minimum length of 2 mm and width of 0.1 mm. In titanium alloy, austenitic and ferritic steel parts, cracks can be detected at a depth over 0.5 mm, with a minimum length of 2 mm and width of 0.1 mm. Eddy current flaw detectors are provided with pencil-type or L-shaped probes, as well as with special-purpose probes for testing blades and hole edges.
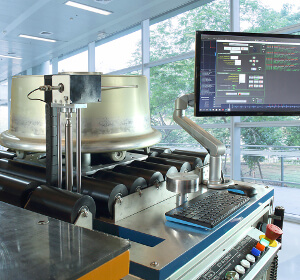
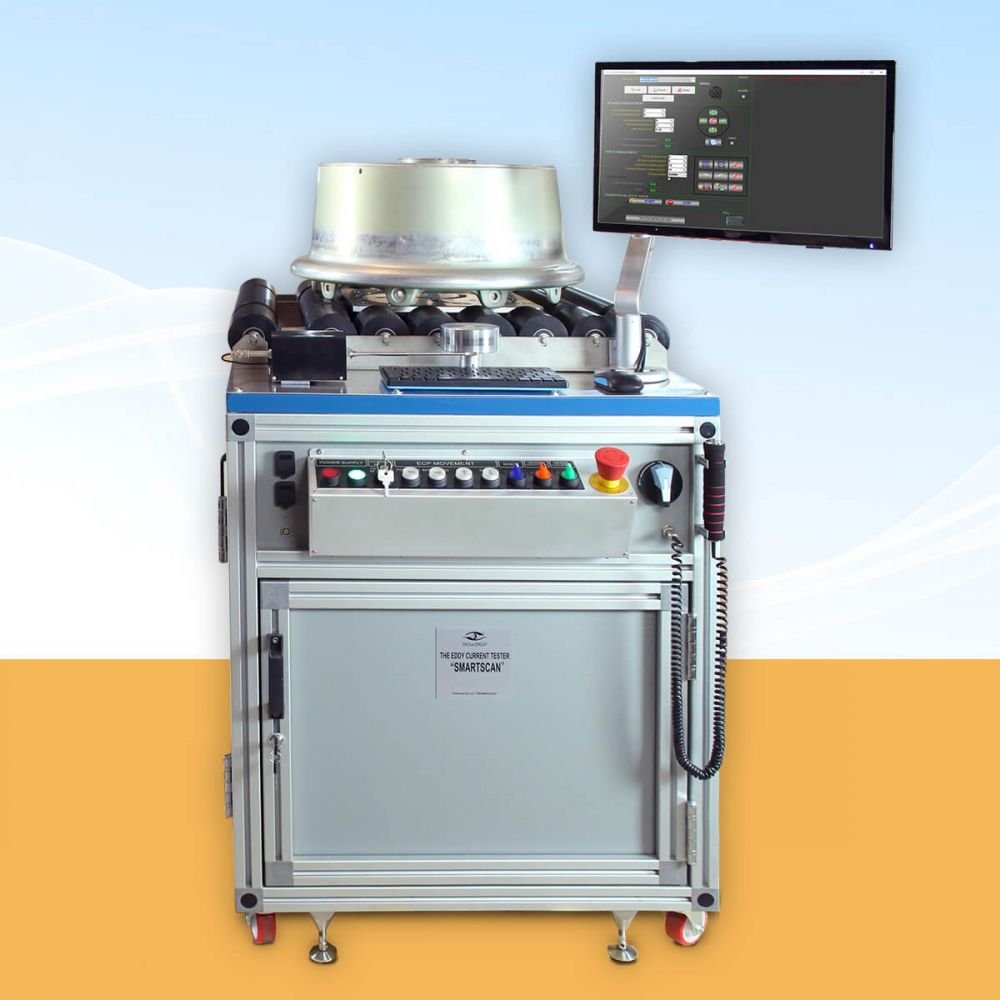
SMARTSCAN Aircraft Wheel Inspection System
Explore More-
Detection of hidden sub-surface flaws

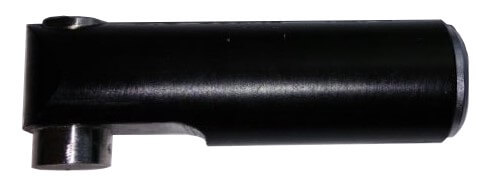
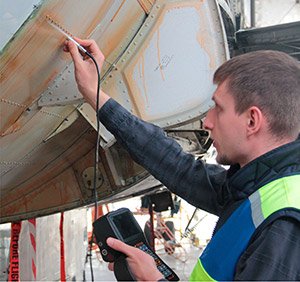
An essential advantage of the eddy current non-destructive testing method is the possibility to detect flaws of fatigue and corrosion origin in the inner layers of multilayer structures, even without removing the fasteners and without disassembling the structures. This facilitates an effective use of the eddy current method not only during the repair of aircraft, when it is possible to remove the fasteners, but directly during tests or on-site maintenance.
Based on the new design of eddy current probes, fundamentally new technologies and means for recognizing the hidden flaws in integral multilayer aircraft structures have been created, particularly, for detecting the flaws under aircraft skin at low frequencies.
Test objects
Fasteners, integral multilayer structures, repair patch in the middle of aircraft wing, shock strut pistons, riveted joints, inside parts of wing boxes, skin-stringer interface.
-
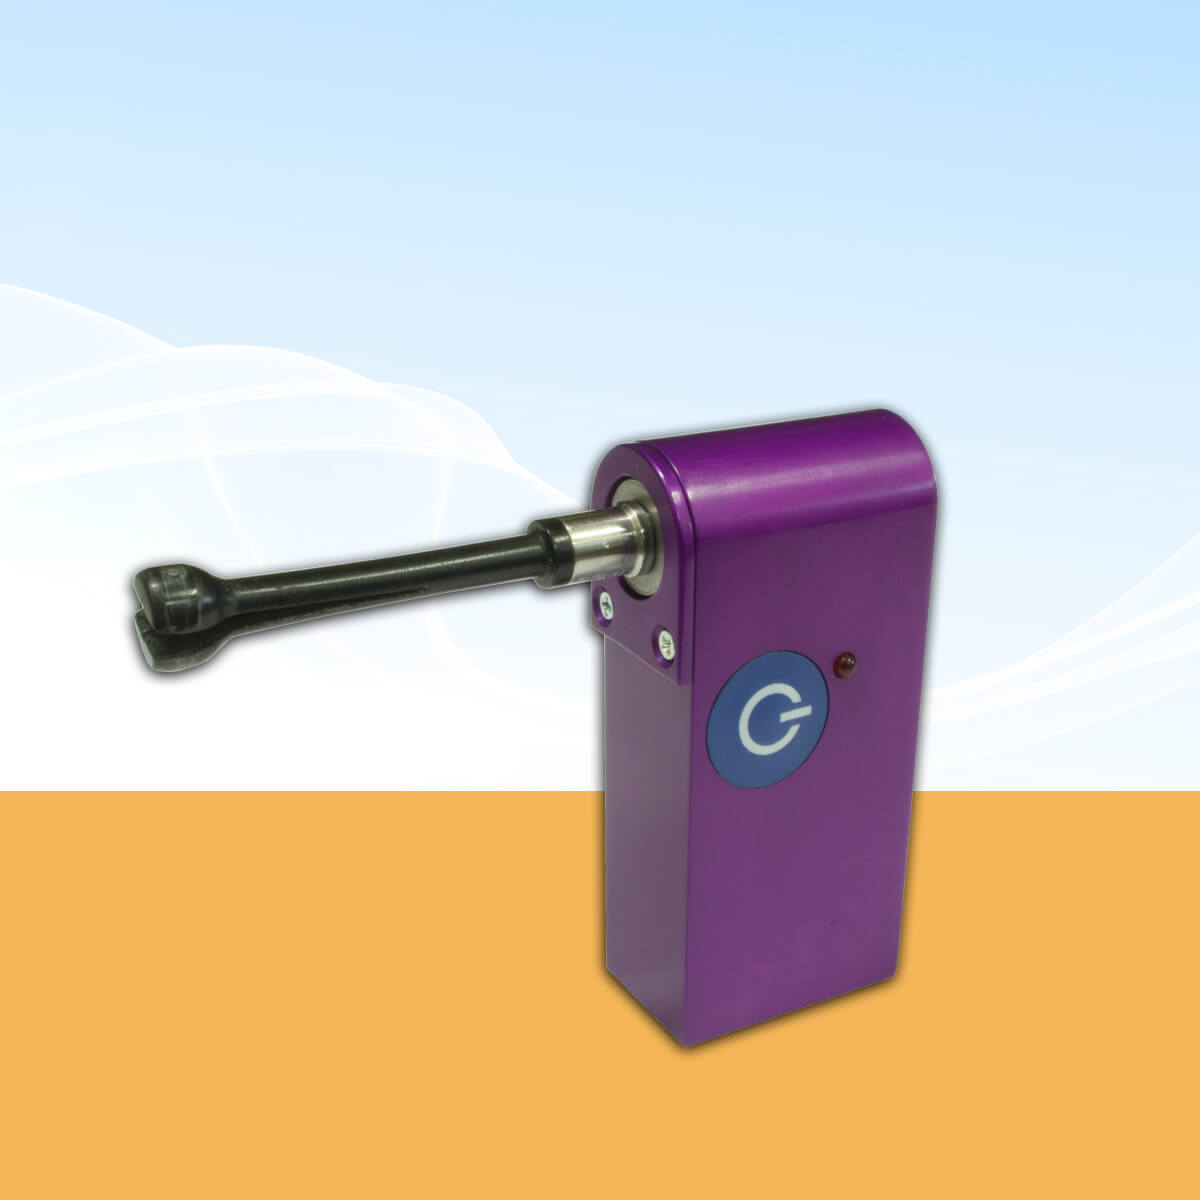
Detection of the surface defects in the holes and countersinks
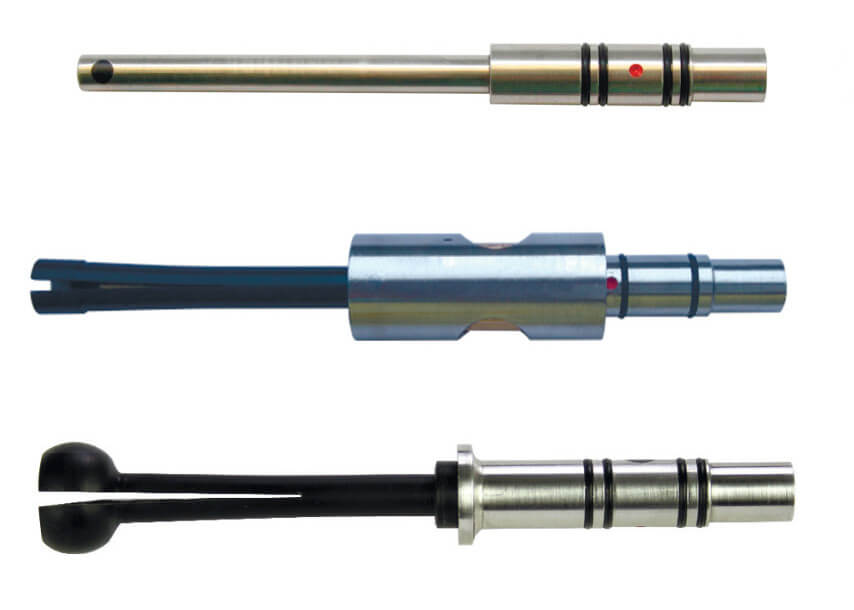
Another important task that can be successfully solved with the eddy current testing method is the detection of the surface defects in the holes and countersinks. These areas can be effectively and efficiently tested using rotary eddy current scanners equipped with special ECPs (reflection type) of different diameters.

